Views: 400 Author: sales@insightknife.com.cn Publish Time: 2025-03-06 Origin: Site


Maintaining a sharp kitchen knife is essential for any chef, whether you're a professional or someone who enjoys cooking at home. A dull knife can make meal prep difficult, inefficient, and even unsafe. Fortunately, a knife sharpener can help restore your knife's edge quickly and easily, and one of the best-known brands in the sharpening world is Chef's Choice.
In this article, we’ll provide a detailed, step-by-step guide on how to use the Chef's Choice knife sharpener, explore the different types of sharpeners available, and give you useful tips on keeping your knives in top shape for longer.Table of Contents
Introduction to Chef's Choice Knife Sharpeners
Types of Chef's Choice Sharpeners
How to Use a Chef's Choice Knife Sharpener: Step-by-Step Guide
Step 1: Set Up the Sharpener
Step 2: Understanding the Stages of Sharpening
Step 3: Sharpening Your Knife
Step 4: Finishing the Process
Chef's Choice Knife Sharpener Maintenance
Tips for Keeping Your Knives in Prime Condition
Common Mistakes to Avoid When Using a Knife Sharpener
Conclusion
Chef's Choice is a reputable brand known for producing high-quality knife sharpeners that are widely used by both home chefs and professional kitchens. These sharpeners are designed to offer convenience and precision, helping you restore your knives’ sharpness without the need for professional sharpening services.

The sharpener works by using abrasive materials that remove tiny bits of metal from the knife’s edge, resulting in a smoother and sharper blade. Chef’s Choice offers a range of sharpeners, from manual to electric models, that can be used on different types of knives, including straight-edge and serrated blades.
Before diving into how to use the Chef’s Choice knife sharpener, it’s important to understand the different types of sharpeners the brand offers:
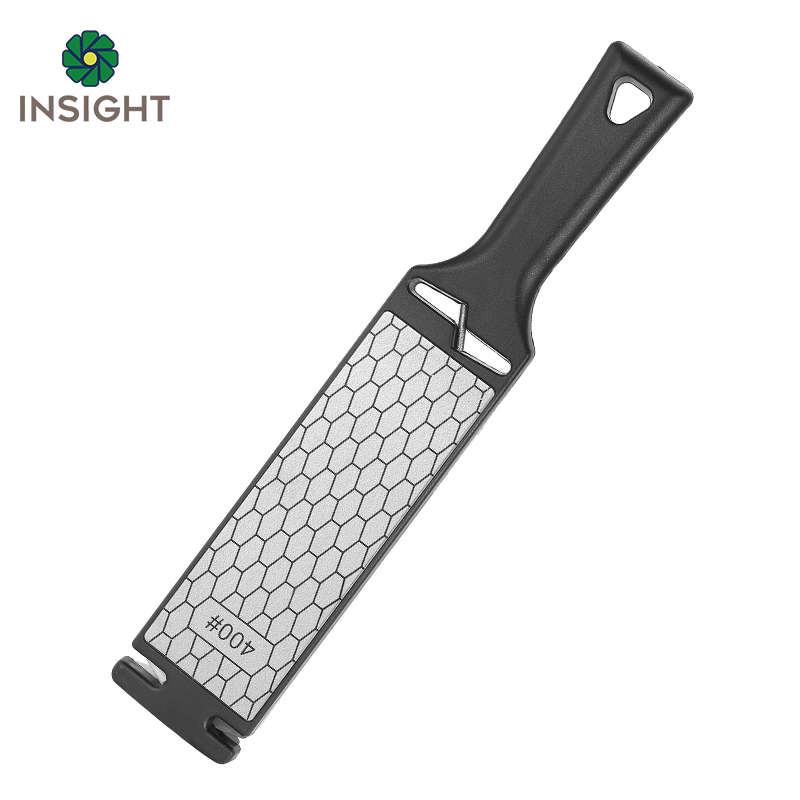
Manual sharpeners are simple, hand-operated devices that require you to pass the knife through various slots to hone the blade. These are typically budget-friendly options that offer control and precision. Chef’s Choice manual sharpeners are ideal for home chefs who prefer a hands-on approach.

Electric sharpeners use motorized wheels to sharpen the knife. They are faster than manual sharpeners and are often the preferred choice for busy kitchens. They require less effort and can sharpen multiple knives in a short time.
Some Chef’s Choice sharpeners combine both manual and electric stages. These versatile models offer the best of both worlds, allowing you to manually hone your knife for final sharpness or use the motorized feature for quick sharpening.
Using a Chef's Choice knife sharpener is easy and efficient, but it’s important to follow the correct steps to achieve the best results. Below is a detailed guide on how to use both manual and electric Chef's Choice sharpeners.
Before you begin sharpening, ensure the sharpener is placed on a flat, stable surface, such as a countertop. If you're using an electric model, plug it into a power source. For manual sharpeners, make sure the device is positioned securely to avoid slipping.
Most Chef's Choice sharpeners feature multiple stages for different levels of sharpening. These stages are designed to restore the knife’s edge progressively:
Stage 1 (Coarse Sharpening): This stage is used to repair very dull or damaged knives. The abrasive surface grinds away metal to reshape the blade.
Stage 2 (Medium Sharpening): This is used to refine the edge of your knife and bring it closer to a sharp point.
Stage 3 (Fine Sharpening): The final stage polishes the edge, giving the knife a smooth and sharp finish.
Some models may also include a stropping stage, which helps remove any fine burrs from the blade after sharpening.

Once you understand the stages, it’s time to begin sharpening. Follow these steps carefully:
Start with Coarse Stage (Stage 1):
Hold the knife by the handle and place it in the designated slot of the sharpener. Keep the knife at the recommended angle (usually between 15° and 20°) as you pull it through the sharpener.
Gently pull the knife through the slot, applying light pressure. Do not force the blade, as this can damage both the sharpener and the knife.
Repeat this process 2-3 times, ensuring you cover the entire blade.
Move to Medium Stage (Stage 2):
After finishing with the coarse stage, move the knife to the next stage. Follow the same process, but this time, use less pressure.
Pull the knife through the slot for 2-3 repetitions, ensuring the blade stays aligned.
Finish with Fine Stage (Stage 3):
Finally, use the fine sharpening stage to hone the blade. This step will give the knife a polished edge.
Repeat the sharpening process for 2-3 more times, using the fine abrasive surface.
Once you’ve completed all sharpening stages, remove the knife from the sharpener. Examine the edge to ensure it’s sharp and smooth. If necessary, run the knife through the fine stage one more time for a final polish.
If you're using an electric model with a stropping feature, you can run the knife through this last step to eliminate any fine burrs. Always wipe the blade clean with a cloth after sharpening.
To extend the lifespan of your Chef's Choice sharpener, regular maintenance is essential:
Clean the Sharpener: After every use, wipe down the sharpener’s surfaces to remove any metal filings and debris. A clean sharpener works more effectively.
Sharpening Stones: If your sharpener uses stones, replace them when they show signs of wear.
Keep the Blade Clean: Regularly clean your knives to avoid rust or dirt buildup, which could hinder the sharpening process.
To reduce the frequency of sharpening, it’s important to handle your knives properly:
Use a Cutting Board: Avoid cutting on hard surfaces like glass or granite, as these can dull your knife faster.
Store Properly: Use a knife block or magnetic strip to store knives. Never store them loosely in a drawer.
Hand Wash Only: Avoid putting knives in the dishwasher, as the harsh environment can cause damage to the edge.
While sharpening your knives, there are several common mistakes to avoid:
Using Too Much Force: Forcing the knife through the sharpener can damage both the blade and the sharpener.
Not Following the Correct Angle: Holding the knife at the wrong angle can lead to ineffective sharpening.
Skipping Stages: Skipping sharpening stages can result in an uneven edge.
A sharp knife is an essential tool in every kitchen, and using a Chef's Choice knife sharpener ensures that your knives stay in top condition. By following the step-by-step process outlined above, you can sharpen your knives efficiently and effectively, whether you’re using a manual or electric model. Remember to maintain your sharpener and handle your knives with care to extend their lifespan.
How often should I sharpen my knives?
It depends on how frequently you use your knives. For regular home use, sharpening every 3-6 months is usually sufficient.
Can I use the Chef's Choice sharpener on serrated knives?
Yes, Chef’s Choice offers sharpeners that can handle serrated blades, but you may need to use a different slot or model.
How do I know if my knife is sharp enough?
A sharp knife will easily slice through paper or vegetables without much resistance. If your knife struggles, it likely needs sharpening.
Is Chef's Choice sharpening safe for high-quality knives?
Yes, Chef’s Choice sharpeners are designed for high-quality knives, but always follow the manufacturer’s instructions to ensure proper care.
Can I sharpen scissors with a Chef's Choice sharpener?
No, Chef’s Choice sharpeners are designed specifically for knives and not for other tools like scissors.