Views: 222 Author: Ella Publish Time: 2025-05-26 Origin: Site


Content Menu
● Understanding Japanese Vegetable Knives
● Essential Tools for Sharpening
● Step-by-Step Sharpening Process
>> 1. Establish the Sharpening Angle
>> 2. Sharpen the Blade on a Coarse Grit Stone (400–1000 grit)
>> 3. Refine the Edge on a Medium Grit Stone (1000–3000 grit)
>> 4. Polish and Hone on a Fine Grit Stone (4000–8000 grit)
● Advanced Sharpening Techniques
>> Clamshell Blade Sharpening (Hamaguriba)
● Special Considerations for Single-Beveled Usuba Knives
● Maintenance Tips for Japanese Vegetable Knives
● Troubleshooting Common Sharpening Issues
● FAQ
>> 1. How often should I sharpen my Japanese vegetable knife?
>> 2. Can I use oil stones instead of waterstones for sharpening?
>> 3. What is the ideal sharpening angle for a Nakiri knife?
>> 4. How do I know when I have created a burr on the edge?
>> 5. Is stropping necessary after sharpening?
Japanese vegetable knives, such as the Nakiri and Usuba, are renowned for their precision, sharpness, and ability to create clean, delicate cuts. These knives are crafted with thinner blades and finer edge angles than Western knives, allowing for exceptional performance but also requiring more careful maintenance. Proper sharpening not only restores their razor-sharp edge but also preserves their longevity and cutting quality. This detailed guide will take you through the entire process of sharpening a Japanese vegetable knife, including the tools you need, step-by-step techniques, and tips for maintaining your blade's performance.

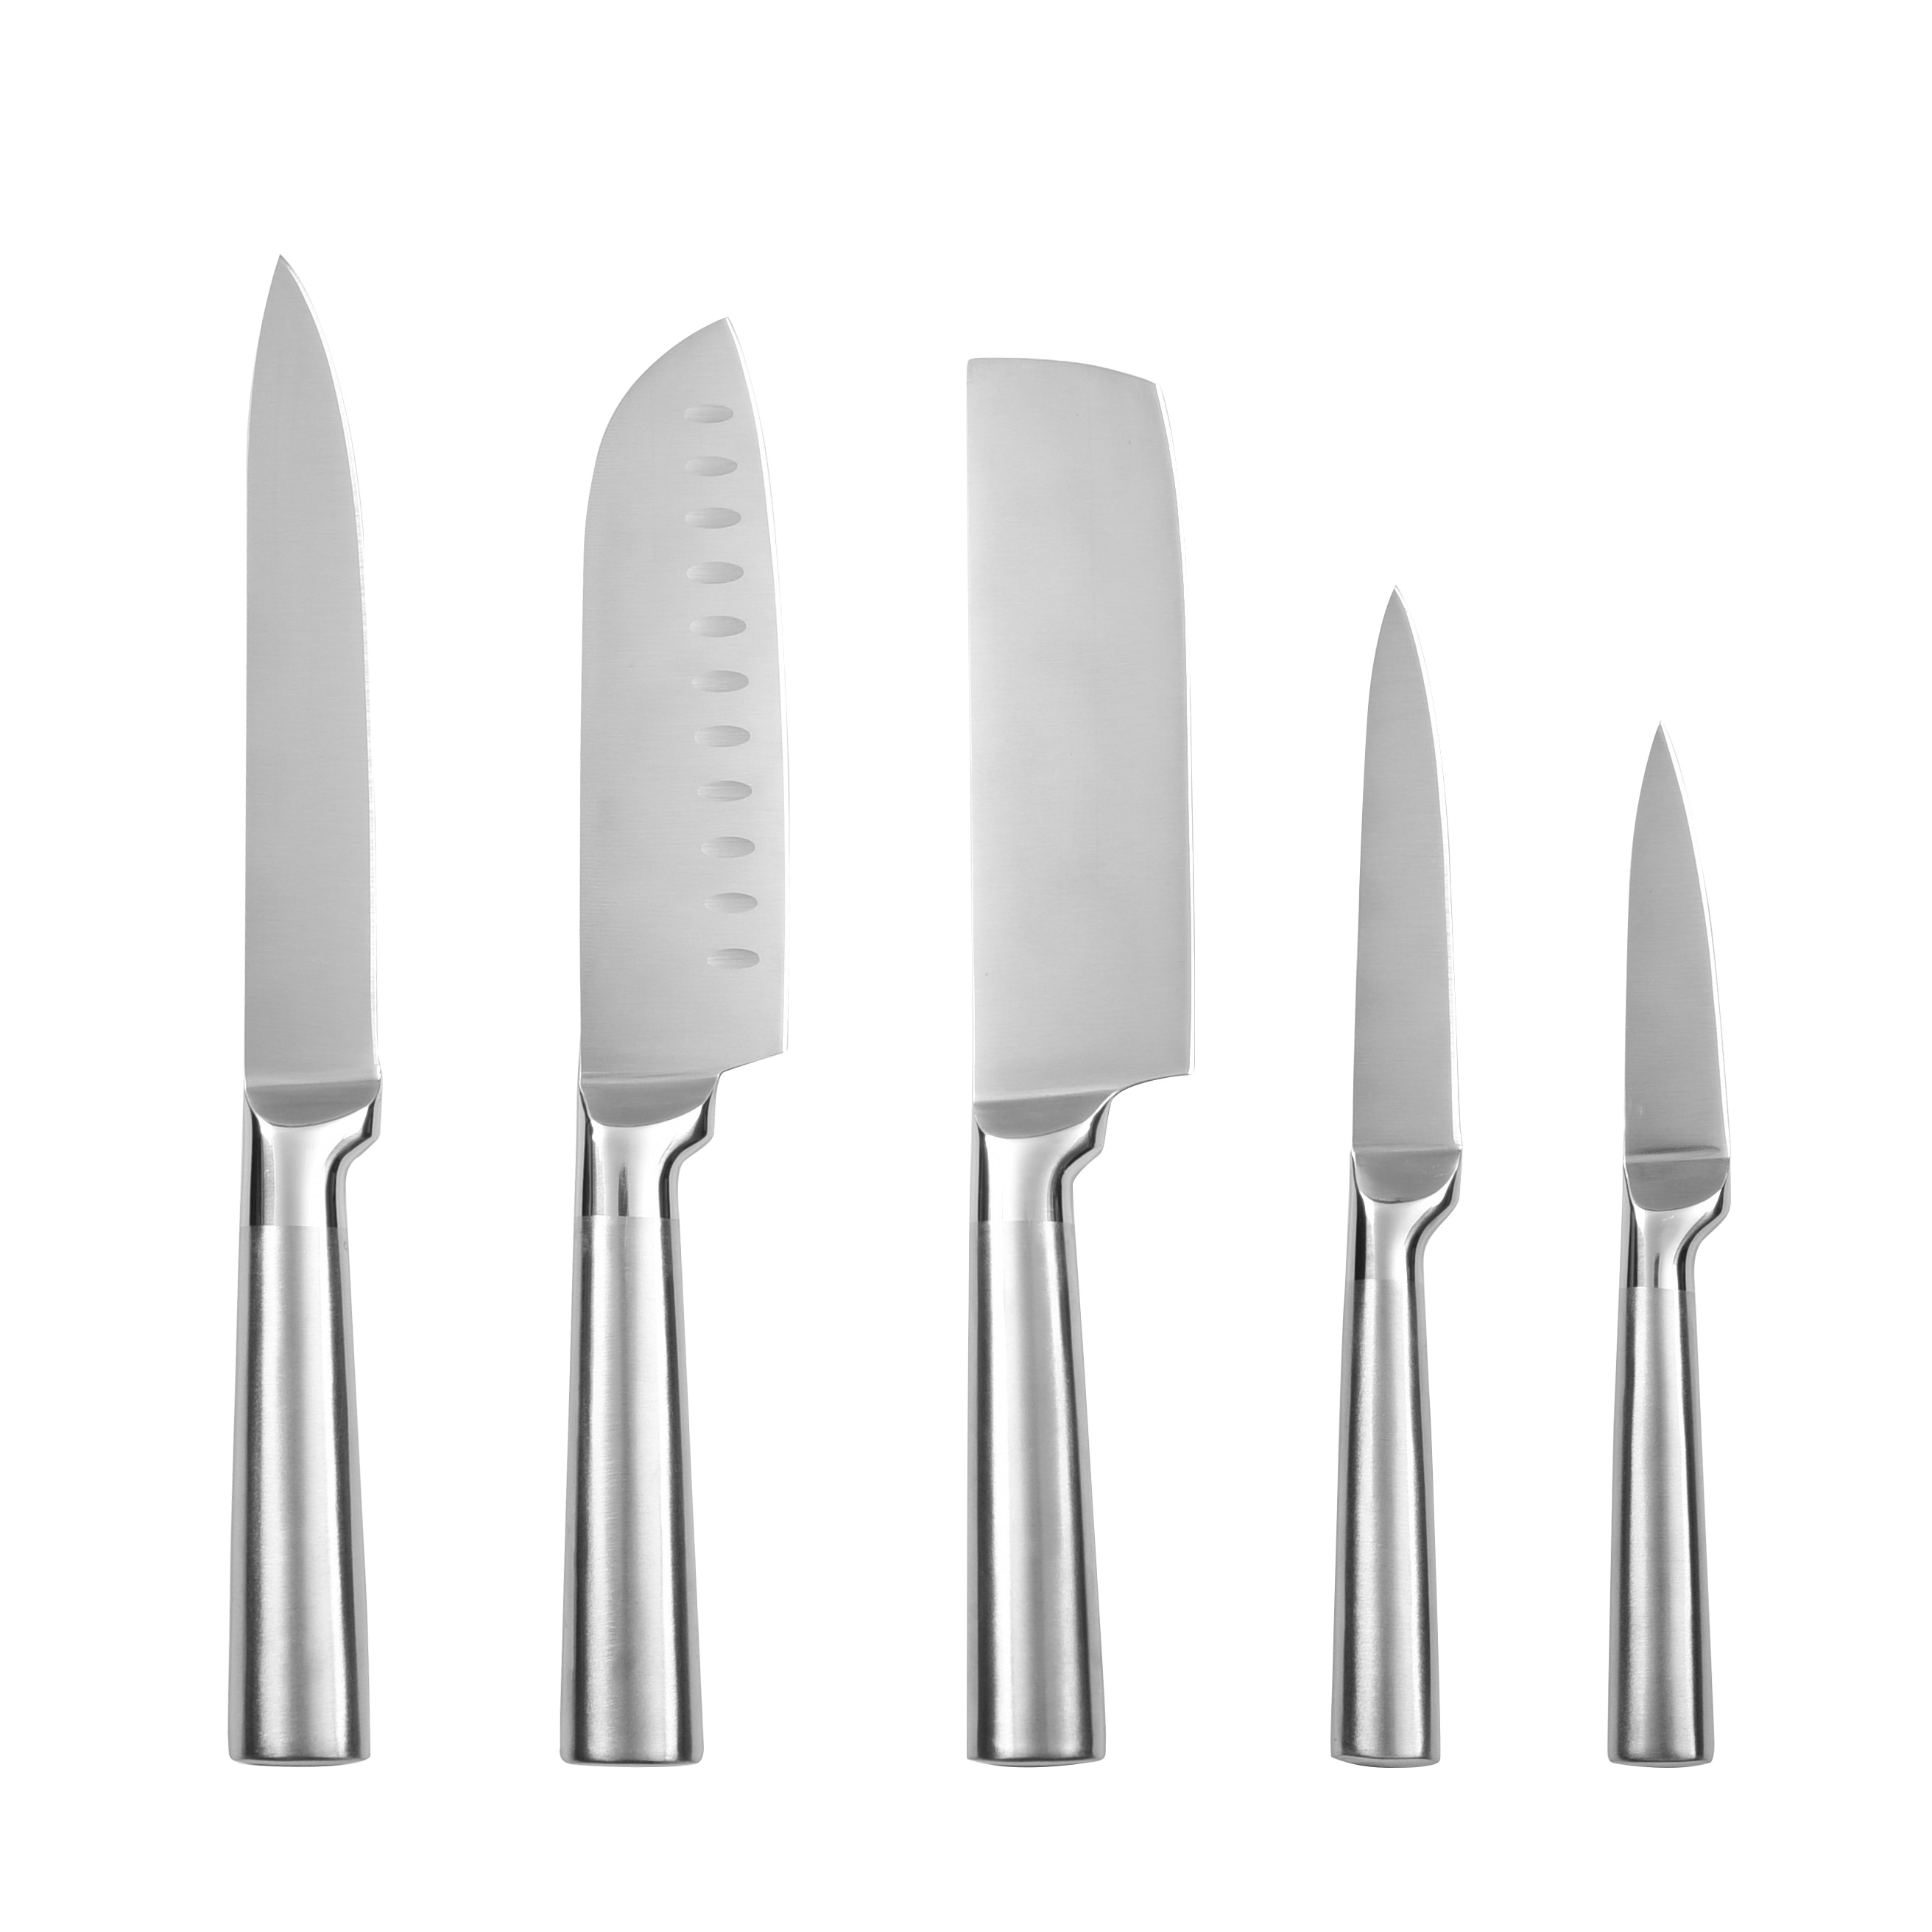
Japanese vegetable knives come primarily in two types:
- Nakiri: A double-beveled knife with a rectangular blade, designed for straight chopping motions. Its symmetrical edges make it easier to sharpen.
- Usuba: A traditional single-beveled knife used for precise vegetable cutting and decorative work. It requires more skill to sharpen due to its asymmetrical edge.
Both knives typically have a blade angle around 15 degrees per side, which is sharper and thinner than most Western knives. This sharpness allows for clean cuts but also means the edge can be more fragile and prone to chipping if not properly maintained.
To sharpen your Japanese vegetable knife effectively, you will need:
- Whetstones (Sharpening Stones): Waterstones are preferred for Japanese knives. Use a range of grits:
- Coarse (400–1000 grit) for repairing chips or reshaping the edge.
- Medium (1000–3000 grit) for regular sharpening and edge refinement.
- Fine (4000–8000 grit) for polishing and honing to a razor-sharp finish.
- Water: For soaking and lubricating the whetstones.
- Leather Strop: To remove burrs and polish the edge after sharpening.
- Sharpening Guide (Optional): Helps maintain a consistent sharpening angle.
- Non-slip Mat or Towel: To stabilize the whetstone during sharpening.
Before sharpening, soak your whetstone in water for about 10 to 15 minutes until no more bubbles emerge. This ensures the stone is fully saturated and prevents overheating or damaging the blade during sharpening. Set the whetstone on a damp towel or non-slip surface to keep it steady.
Japanese vegetable knives typically require a sharpening angle of about 15 degrees per side. To maintain this angle:
- Hold the knife so the blade edge touches the stone.
- Tilt the spine upward to approximately 15 degrees.
- You can use stacked coins or an angle guide to help keep this angle consistent.
Maintaining a steady angle is crucial for achieving a sharp and durable edge.
Start with the coarse stone to repair any damage and establish the bevel:
- Hold the knife firmly with your dominant hand, applying moderate pressure.
- Push the blade forward across the stone, applying pressure on the forward stroke.
- Lift pressure on the return stroke as you pull the blade back.
- Move the blade evenly along the stone to sharpen the entire edge, including heel, belly, and tip.
- Repeat this motion until you feel a burr (a slight rough edge) along the entire blade edge, indicating the bevel is formed.
When sharpening the tip, slightly lift the handle and use light force. For the base of the blade, lower the handle and apply a bit more pressure with your thumb to ensure even sharpening.
Switch to a medium grit stone to smooth and sharpen the edge further:
- Maintain the same angle and use lighter pressure.
- Repeat the forward and backward strokes, alternating sides to create a balanced edge.
- Continue until the burr diminishes and the edge feels sharper.
Use the fine grit stone to polish the edge:
- Apply very light pressure and make smooth, consistent strokes.
- Alternate sides evenly.
- This step produces a mirror-like finish and enhances sharpness.
Remove any remaining burr by stropping on a leather strop or running the blade lightly on the flat side of a high-grit stone:
- Use minimal pressure and make a few light passes.
- The edge should feel smooth and free of any roughness.

As you gain experience, you may explore advanced sharpening techniques like *clamshell blade sharpening*. This method creates a slightly curved edge with a bulge resembling a clam shell, combining sharpness with durability. It helps prevent chipping and reduces food sticking to the blade. This technique is more complex and is recommended once you are comfortable with basic sharpening.
Some professionals create a secondary edge, a slightly thicker supporting edge behind the main bevel. This reduces brittleness and increases the blade's lifespan without sacrificing sharpness. This technique requires precision and is generally for advanced users.
Single-beveled knives like the Usuba require sharpening primarily on the beveled side at about 15 degrees. The flat or concave back side should be sharpened flat against the stone to remove burrs. After sharpening, a finishing stone is used for delicate polishing to maintain the blade's unique geometry. This process demands patience and skill to avoid damaging the edge.
- Regular Honing: Use a ceramic honing rod to realign the blade edge between sharpenings.
- Proper Storage: Store knives in a wooden block or protective sheath to avoid damage.
- Hand Wash Only: Always hand wash with warm water and dry immediately to prevent rust.
- Use Appropriate Cutting Boards: Wooden or plastic boards help preserve the edge better than glass or stone.
- Avoid Pull-Through Sharpeners: These can damage the blade and ruin the edge geometry.
- No Burr Formation: If you don't feel a burr after several passes, you may not be applying enough pressure or maintaining the correct angle.
- Uneven Edge: Make sure to sharpen the entire blade length evenly, including heel and tip.
- Blade Chipping: This can happen if the blade is sharpened too thin or with excessive force. Consider using the clamshell sharpening technique to add durability.
- Food Sticking to Blade: A polished edge with a slight curve (clamshell) can help reduce sticking.
Sharpening a Japanese vegetable knife is a blend of technique, patience, and respect for the craftsmanship behind the blade. By using quality whetstones, maintaining a consistent angle, and following a systematic sharpening process, you can restore and preserve the knife's razor-sharp edge. Regular maintenance and careful handling will ensure your Japanese vegetable knife remains an indispensable tool in your kitchen for years to come.

Sharpen your knife when it starts to dull, typically every few months with regular home use. Frequent honing can extend the time between sharpenings by realigning the edge.
While oil stones can be used, waterstones are preferred for Japanese knives because they sharpen more precisely and are gentler on the fine steel.
The ideal sharpening angle for a Nakiri is around 15 degrees per side, which balances sharpness and edge durability.
You can feel the burr by gently running your fingertip perpendicular to the edge; it will feel like a slight roughness or wire edge, indicating sufficient sharpening on that side.
Yes, stropping removes any remaining burr and polishes the edge, resulting in a smoother, sharper blade that cuts cleanly.