

Views: 500 Author: Monica Publish Time: 2025-03-29 Origin: Site


Content Menu
>> 1. Why Sharpen a Bread Knife?
>>> Whetstone
>>> Water or Oil
>>> The Importance of the Right Grit
>> 4. Understanding Bread Knife Blade Structure
>> 5. Sharpening Your Bread Knife Step-by-Step
>>> Step 1: Positioning the Knife
>>> Step 2: Starting the Sharpening Process
>>> Step 3: Moving to Finer Grits
>> 7. Troubleshooting Common Problems
>> 8. Caring for Your Bread Knife Post-Sharpening
>> 10. Related Questions and Answers
How to Sharpen a Bread Knife with a Whetstone
Sharpening a bread knife with a whetstone is a skill that, when mastered, can ensure your bread knife stays sharp, efficient, and capable of slicing through crusty loaves with ease. A well-maintained bread knife is a must-have kitchen tool, especially when dealing with crusty breads or delicate pastries. In this guide, we'll walk you through the entire process, from preparing the whetstone to sharpening the knife itself, and even provide troubleshooting tips along the way. Let's dive in!
1. Why Sharpen a Bread Knife?
2. What You'll Need
* Whetstone
* Water or Oil
* A Clean, Stable Surface
2. Preparing the Whetstone
* Soaking the Whetstone
*The Importance of the Right Grit
3. Understanding Bread Knife Blade Structure
4. Sharpening Your Bread Knife Step-by-Step
* Step 1: Positioning the Knife
* Step 2: Starting the Sharpening Process
* Step 3: Moving to Finer Grits
6. Testing the Sharpness
7. Troubleshooting Common Problems
8. Caring for Your Bread Knife Post-Sharpening
9. Conclusion
10. Related Questions and Answers
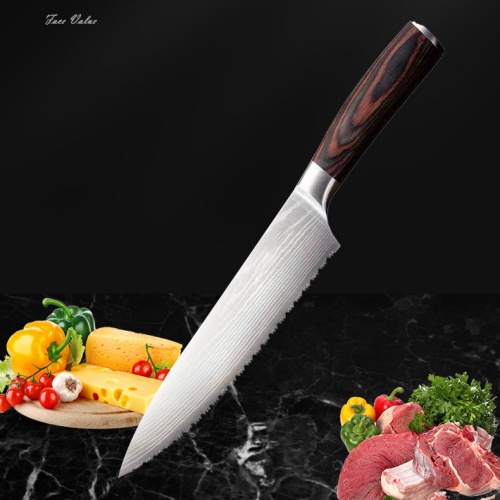
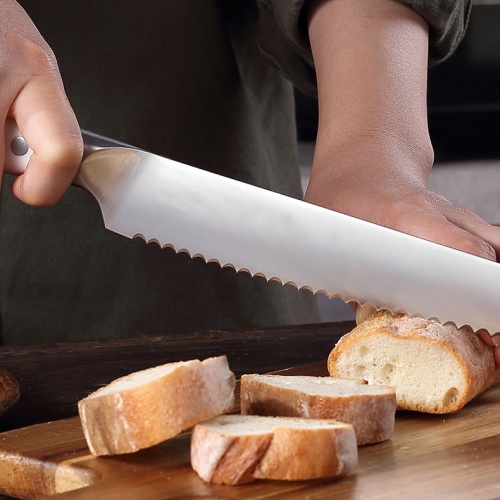
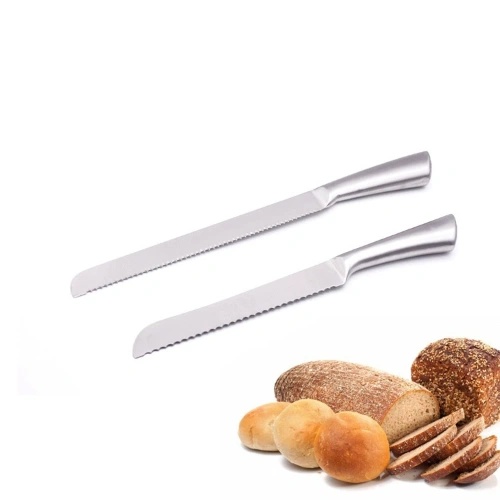
Bread knives are specifically designed with serrated edges, which make them ideal for cutting through crusty bread without crushing the soft interior. However, like any knife, the serrated edge can dull over time. Dull serrated edges result in uneven cuts and the need to exert more force, which can ruin the texture of your bread. Sharpening the serrated edge will keep it functional and help ensure smooth, effortless slicing.
Before you begin, gather the following tools and materials:
A whetstone is the primary tool used to sharpen knives. It typically comes in two sides: a coarse side for rough sharpening and a fine side for polishing the edge.
Depending on the type of whetstone you're using, you may need to soak it in water or oil. Water stones are the most common, but oil stones are also available.
A flat, stable surface is necessary for safety and effectiveness. Ensure that your work surface is clear of debris and that the stone will not slip while you sharpen.
The Importance of the Right Grit
The grits of the whetstone will dictate how coarse or fine the edge of your knife becomes. For sharpening a bread knife, it's recommended to use a whetstone with two sides: a coarse side (around 400-600 grit) for initial sharpening and a finer side (1000-2000 grit) for finishing.
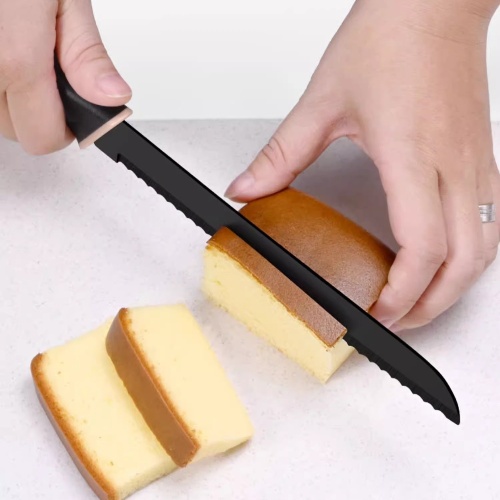
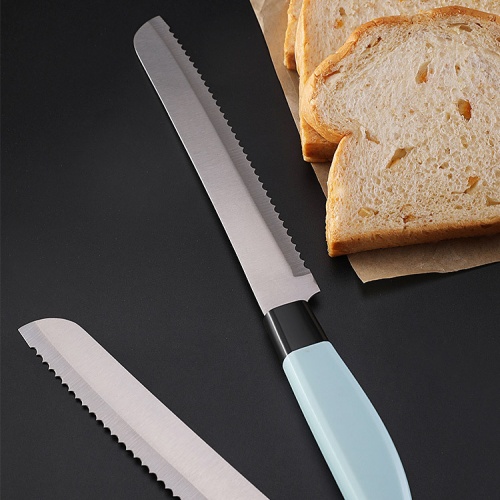
Before sharpening your bread knife, it's essential to understand the design of its serrated edge. Unlike a traditional smooth-edged knife, a bread knife has multiple "teeth" that need individual attention during sharpening. This can make the process more time-consuming, but the result will be a sharp and precise edge.
Bread knives are typically serrated on one side only, with the opposite side being flat. This means you will need to sharpen only the serrated side. The flat side should remain untouched, except for the occasional honing to maintain the alignment of the edge.
Place the whetstone on a stable surface, such as a kitchen counter. Ensure that the stone is properly soaked (if it's a water stone) and securely positioned.
Hold the bread knife at a 15-20 degree angle relative to the surface of the stone. This angle will give you the best results for sharpening without over-sharpening the blade. Ensure that the flat side of the blade faces down on the whetstone.
Begin sharpening by gently dragging the serrated edge across the coarse side of the whetstone. Start at the base of the blade and work your way towards the tip. Apply light, even pressure, and make sure you're sharpening each individual serration.
While sharpening, you'll want to move the knife in a forward-and-backward motion, similar to a sawing motion. This ensures that each tooth on the serrated edge is sharpened evenly.
After you've sharpened the serrated edge on the coarse side, flip the stone over to the fine side. Repeat the process, but this time focus on refining the edge to a smooth, sharp finish. This fine grit will help polish the teeth and remove any rough spots from the sharpening process.
Once you've finished sharpening the knife, it's important to test its sharpness. The best way to test a bread knife is to slice through a piece of bread. If the knife cuts through easily without crushing the loaf or tearing the crust, you've done a good job. Alternatively, you can carefully test the edge with your finger (just be careful not to cut yourself!) or use a tomato or other soft fruit to see how easily the blade cuts through.
Problem 1: Uneven SharpeningIf the serrations are not sharpened evenly, it's likely that you weren't applying consistent pressure or didn't use the same angle for each pass. Take your time and focus on each individual serration.
Problem 2: Dull Edge After SharpeningThis can happen if the whetstone wasn't soaked properly, or if you didn't use enough pressure during the sharpening process. Check the consistency of your strokes and ensure the stone is properly prepared.
Problem 3: Difficulty in Sharpening Serrated BladesIf you find it difficult to sharpen the serrations, consider using a specialized serrated knife sharpener or a sharpening rod that fits into the grooves of the serrations. This tool can make the process easier and more effective.
Once your bread knife is sharp, make sure to take care of it to ensure it remains in good condition. Here are a few tips:
* Use a Knife Block or Magnetic Strip: This will protect the edge of the blade.
* Avoid Cutting Hard Surfaces: Don't use your bread knife on hard surfaces like ceramic plates or glass cutting boards, as they can dull the blade quickly.
* Regular Honing: Hone the knife regularly to maintain its sharpness. A honing steel is ideal for this purpose.
Sharpening a bread knife with a whetstone may seem like a daunting task, but with patience and practice, you can easily restore your serrated knife to its former sharpness. Not only will this make slicing bread more efficient, but it will also preserve the texture and appearance of your loaves. By following the steps outlined in this guide and performing regular maintenance, your bread knife will serve you well for years to come.
Q: How often should I sharpen my bread knife?
A: It depends on usage, but typically, sharpening a bread knife once every 6-12 months is enough for most people.
Q: Can I use a regular knife sharpener for a serrated bread knife?
A: Regular knife sharpeners are not ideal for serrated knives. It's best to use a specialized serrated knife sharpener or a whetstone.
Q: How do I know when my bread knife is sharp enough?
A: Test it by slicing through a piece of bread. If it cuts easily without crushing the loaf, it's sharp enough.
Q: What is the best way to store a bread knife?
A: Store your bread knife in a knife block, magnetic strip, or protective sheath to keep the blade from becoming dull.
Q: Can I sharpen a serrated knife on both sides?
A: Generally, serrated knives are sharpened only on one side—the side with the serrations. The flat side should remain untouched.